Choosing a nail product is not simply a matter of selecting the prettiest bottle. Nail plates differ in thickness, flexibility, moisture, texture, and sensitivity. A strengthening treatment may help one person, yet leave another person’s nails feeling stiff or more fragile.
This guide explores seven practical tips for choosing suitable nail solutions for different conditions. It explains how to choose the best nail solutions for different nail types, including brittle, peeling, thin, ridged, oily, and naturally strong nails. Small details matter. For example, peeling at the free edge may require gentle filing and hydration, while an oily nail plate may need careful cleansing before polish application. Thick builder products can add support, but they may not suit every nail or removal routine.
Evidence and professional judgment should guide each decision. Qualified nail technicians can assess visible concerns, product compatibility, and application technique. Dermatologists should evaluate persistent pain, discoloration, swelling, or sudden nail changes. Product labels also deserve attention, especially instructions for curing, removal, and possible allergies. A patch test may reduce avoidable reactions, although it cannot guarantee complete safety.
No guide is perfect. Nail behavior can change with weather, washing habits, occupation, and health. That uncertainty matters. Instead of chasing instant results, observe how nails respond over several weeks. Record cracking, lifting, tenderness, and surface changes. With realistic expectations and consistent care, readers can make more informed choices and avoid treatments that solve one problem while creating another.
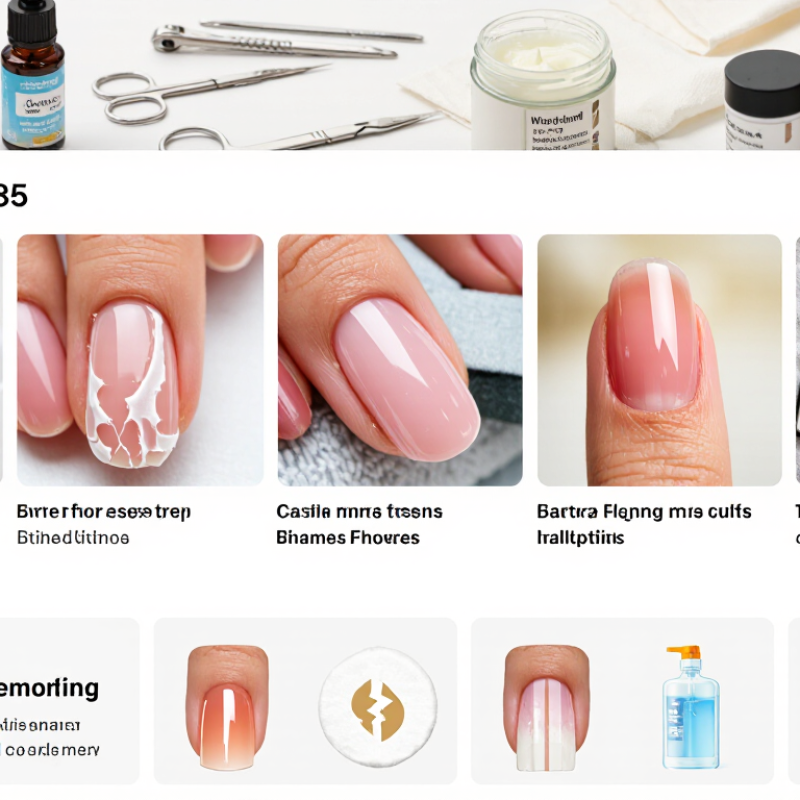
Assess each nail plate before choosing a solution. Dermatology references commonly place adult fingernail thickness near 0.5–0.75 mm. A thin, translucent plate may bend during typing or snag on fabric. Choose lightweight reinforcement and avoid aggressive filing. Thick plates feel rigid and may show uneven growth. Use controlled shaping instead of removing excessive surface layers. I still misjudge thickness when polish hides the natural plate.
Flexibility reveals another need. A healthy nail should have slight spring, not snap like dry plastic. The American Academy of Dermatology Association notes that fingernails grow about 3 millimeters monthly, so repeated stress can affect visible results for weeks. For flexible nails, select a solution that moves with the plate. Rigid products can lift at the free edge. Watch the corners.
Moisture matters too. DermNet NZ describes the nail plate as containing roughly 10–30% water. Over-wet nails may feel soft and swell temporarily. Very dry nails can look chalky, split, or catch on towels. Allow nails to dry before application, but do not dehydrate them repeatedly. A balanced preparation is safer than a harsh one. Check texture again after washing. Tiny changes matter. Surface peeling, white patches, or persistent discoloration deserve professional assessment rather than cosmetic coverage.
Nail care works best when the solution matches both condition and shape. Grand View Research estimated the global nail polish market at about USD 14.4 billion in 2023, showing strong demand for appearance-focused products. Yet healthy-looking nails still need practical assessment.
For brittle or peeling nails, choose a short squoval shape and flexible strengthening care. Keep the edge smooth, not sharply filed. Ridged nails usually suit a rounded shape, which reduces snagging and makes uneven texture less noticeable. Soft, oily nails may need lighter products and longer drying time. Avoid sealing in moisture after handwashing. Dry carefully first. For short, wide nails, a gentle oval can create visual length. Almond shapes need enough free edge to prevent breakage.
Discolored, painful, or separating nails require professional evaluation rather than cosmetic coverage. The American Academy of Dermatology notes that fingernails grow about 3 millimeters monthly, so visible improvement takes patience. Remove products gently and avoid aggressive buffing. I once over-filed a ridged nail, hoping to create a smoother surface; it became thinner and more sensitive. That mistake still matters. Choose solutions gradually, photograph changes weekly, and stop if tenderness, swelling, or worsening discoloration appears. Data from Mintel’s beauty research also shows consumers increasingly value at-home care, but convenience can encourage overuse. A careful routine beats a dramatic one.
Choosing nail solutions for every nail type starts with the lamp, not the color. Gel products react to specific wavelengths, commonly between 365 and 405 nm. A product may look cured on the surface while remaining soft underneath. That hidden layer can lift, wrinkle, or irritate sensitive skin.
Check the product’s curing range before applying it. A lamp labeled 365–405 nm offers broader coverage, but output strength still matters. Thin builder gel may cure differently from dense gel polish. Test one nail first. Apply a controlled layer, keep the hand flat, and follow the stated curing time. Watch the thumb carefully; its angle often blocks light.
Nail condition also changes product choice. Flexible nails may need a resilient gel, while rigid or damaged nails require less bulk and careful preparation. Avoid flooding the cuticle. Leave a narrow margin around the skin. I have found that longer curing is not always safer or better. Excess heat can cause discomfort, especially on thin nails. A quick surface check can mislead you, so observe hardness after cooling and inspect the underside when possible. Even experienced technicians can miss uneven lamp exposure. Replace weak bulbs or clean the lamp window when curing results become inconsistent.
| Tip | Nail Type | Typical Need | Recommended Gel Solution | Lamp Compatibility | Application Guidance | What to Check |
|---|---|---|---|---|---|---|
| 1 | Thin, flexible nails | Extra support without excessive thickness or heat. | Flexible builder gel or soak-off builder gel designed to move with the natural nail. | Use only when the gel’s photoinitiator system matches the lamp’s stated 365–405 nm output. A dual-wavelength lamp can support products formulated for both 365 nm and 405 nm, but compatibility must be confirmed. | Apply a thin reinforcing layer and avoid flooding the sidewalls. Cure according to the product instructions rather than extending time arbitrarily. | Look for flexibility, controlled viscosity, and a clear curing-time specification. |
| 2 | Brittle or peeling nails | Reduced lifting and less stress at the free edge. | A flexible base gel with good adhesion; avoid using a rigid enhancement as the only solution. | Check whether the base gel is intended for 365 nm, 405 nm, or a dual 365/405 nm lamp. Wavelength alone does not guarantee a complete cure. | Prepare gently, remove surface dust and oils, and keep the product off the skin. Use thin coats to improve light penetration. | Confirm the product’s adhesion instructions and recommended lamp type. |
| 3 | Flat or wide nail plates | Balanced structure and a smooth, even profile. | Medium-viscosity builder gel or structured gel that can be leveled without running into the cuticle area. | Choose a lamp whose output includes the gel’s required peak range, commonly within 365–405 nm. Follow the gel maker’s lamp and exposure guidance. | Build the apex gradually and rotate the hand if needed for an even cure. Avoid overly thick layers that may cure incompletely underneath. | Assess self-leveling behavior, viscosity, and the recommended maximum layer thickness. |
| 4 | Strong natural nails | Color wear, shine, and easy removal rather than major reinforcement. | Soak-off color gel or a thin gel overlay with a compatible base and top coat. | Use the lamp wavelength specified for the complete system. Products in one system may use different photoinitiator blends, so do not assume every gel cures identically. | Apply two thin color coats when needed instead of one thick coat. Cure each layer separately. | Check opacity, soak-off instructions, and whether the lamp provides adequate coverage for the thumb and side areas. |
| 5 | Long nails or extensions | Structural strength and resistance to bending. | Hard gel or high-strength builder gel formulated for extensions; select a soak-off option only when its strength is sufficient for the length. | Verify that the lamp emits the range required by the product, such as 365 nm, 405 nm, or both. A lamp’s advertised wattage does not replace wavelength and cure testing. | Use correct thickness and structure, especially around the stress area. Cure full-cover tips and opaque materials only with products and lamps validated for that application. | Review strength level, extension compatibility, layer limits, and removal method. |
| 6 | Short nails or bitten nails | Controlled placement, edge protection, and a natural-looking finish. | Low-to-medium viscosity base or builder gel that allows precise application around a small nail plate. | Select a lamp with a confirmed 365–405 nm range suitable for the gel. Ensure the nail is positioned close enough to the light source for even exposure. | Keep the product away from surrounding skin and cure the thumb separately if its angle creates shadows. | Prioritize precise control, adhesion guidance, and full light access to the nail surface. |
| 7 | Sensitive or easily irritated skin | Minimizing skin contact and avoiding under-cured product. | A clearly labeled gel system with detailed curing instructions and a viscosity that supports clean, skin-free application. | Match the gel to the specified 365–405 nm lamp output and use the stated exposure time. Do not apply gel over irritated or damaged skin. | Remove any uncured product from the skin before curing. Stop use if irritation develops and seek professional medical advice for persistent reactions. | Check ingredient information, safety directions, lamp compatibility, and whether the product cures fully in the intended layer thickness. |
A professional 180–240 grit range supports safer nail preparation. Choose 180 grit for shaping enhancements and refining thicker free edges. Use 240 grit for lightly smoothing natural nails and finishing delicate surfaces. Never use coarse 80 or 100 grit directly on the natural nail plate. It can create deep scratches and unnecessary thinning.
The U.S. Bureau of Labor Statistics reported about 395,000 manicurists and pedicurists in its May 2023 employment data. That scale makes consistent filing standards important across busy service environments. NIOSH salon safety guidance also highlights airborne dust and repetitive hand movements as workplace concerns. Use gentle pressure, controlled strokes, and dust extraction when available. Stop when the surface feels smooth, not when it looks aggressively matte.
I still see technicians over-file one corner while correcting shape. It happens quickly. Check the nail from several angles before continuing. A flexible 240-grit file suits many natural nails, but weak, peeling, or very thin nails may need minimal filing instead. Grit numbers are not perfectly identical across abrasive manufacturers, so inspect the file’s texture before service. If heat, tenderness, or redness appears, pause immediately and reassess the technique. Safe preparation is measured by preserved nail structure, not by how much dust the file produces.
Choosing a nail solution starts with observing the natural nail, not copying a trend. Thin nails need flexible protection and gentle filing. Brittle nails benefit from shorter lengths and daily cuticle oil. Oily nails require careful cleansing before any coating. Ridges may need smoothing, but aggressive buffing can make them weaker. Short nails can still look balanced with a rounded or soft-square shape.
Plan maintenance around growth, not just appearance. Fingernails grow about 3 mm monthly, so two to three weeks may produce roughly 1.5–2 mm of visible regrowth. That small gap can affect the balance of an overlay or extension. I usually check the sidewalls, free edge, and lifting before deciding whether to fill, reshape, or remove the product. Do not simply add more material over lifting. Moisture can become trapped.
Growth is not perfectly predictable. Stress, season, age, and general health may change the pace. I once waited for a scheduled appointment despite early lifting, and the repair became more complicated. That was poor timing. A safer plan is to inspect nails weekly under bright light. Keep the length practical, avoid peeling product, and use clean tools. A two-week visit suits fast growers or delicate nails; three weeks may work for slower growth and secure application. When tenderness, discoloration, or unusual separation appears, pause cosmetic services and seek qualified professional advice.
Plan maintenance around average nail growth of approximately 3 mm per month, or about 0.1 mm per day.
How to use this guide: Natural nails and flexible overlays can often be reviewed every 21 days, while extensions and higher-maintenance enhancements are commonly checked every 14 days. These intervals correspond to approximately 1.4–2.1 mm of regrowth.
Choose a short squoval shape with softly smoothed edges. Avoid sharp corners and aggressive filing. A flexible strengthening routine may help, but brittle nails still need patience.
A rounded shape can reduce snagging and soften the look of uneven texture. File gently across the free edge. Do not erase ridges by thinning the entire nail plate.
A gentle oval can create a longer visual line. Keep both sides balanced. Do not force a narrow shape if the corners begin cracking.
Painful, discolored, or separating nails need professional evaluation. Cosmetic coverage may hide changes without solving the cause. Stop service if swelling, tenderness, or worsening color appears.
Many gel products require wavelengths between 365 and 405 nanometers. Check the product’s stated curing range before application. A surface that feels hard may still hide uncured gel underneath.
Apply a controlled, thin layer and keep the hand flat. Watch the thumb because its angle can block light. Test one nail before continuing. Longer curing is not always safer.
A 240-grit file usually suits light smoothing of natural nails. A 180-grit file is better for shaping enhancements or thicker edges. Avoid coarse files on the natural nail plate. Less filing may be wiser.
Use gentle, controlled strokes and inspect the nail from several angles. Stop when the surface feels smooth, not dramatically matte. Heat, redness, or tenderness signals a pause. I once filed too much; the nail became thinner and more sensitive.
Choosing the right nail care approach begins with understanding each nail’s plate thickness, flexibility, and moisture level. To learn how to choose the best nail solutions for different nail types, first identify whether the nails are thin, thick, brittle, flexible, dry, oily, ridged, or damaged, then consider their shape and daily demands. Solutions should be adjusted for common conditions such as peeling, breakage, dehydration, excess flexibility, and uneven surfaces rather than applying the same product to everyone.
Gel products should be compatible with lamp-curing wavelengths between 365 and 405 nm, and curing instructions should always be followed carefully. Safe preparation also matters: use professional 180–240 grit files with light pressure to refine the surface without over-thinning the natural nail. Since nails grow approximately 3 mm per month, plan maintenance every two to three weeks to manage regrowth, preserve structure, and reassess the nail’s changing condition.

Plek Beauty